Clean discolored and yellowed toys with these tips
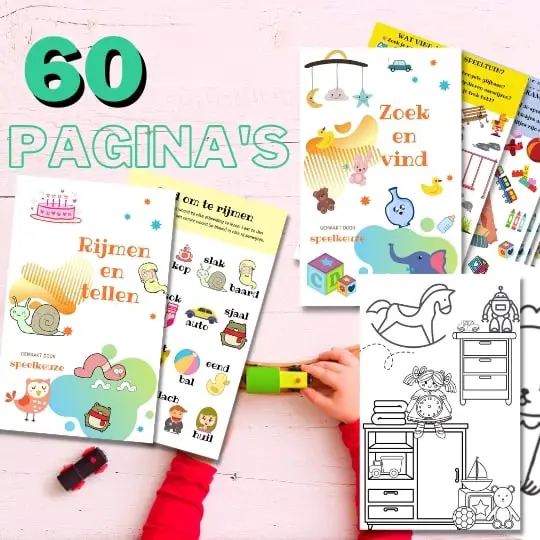
Always something to do for the holidays or rainy day?
Play Choice now has the ultimate activity book collection, with over 60 pages of fun coloring pages and educational puzzles.
Have you ever noticed how your old toys changed and turned an ugly yellow color?
Maybe you want to bring them back up now and share them with your son like me.
Old Nintendo systems, millennium falcons, Playmobil and other toys look terrible 30 years later, but there is a way to spice them up again.
In this article I will walk you through how you can fix it, and why it actually discolors.
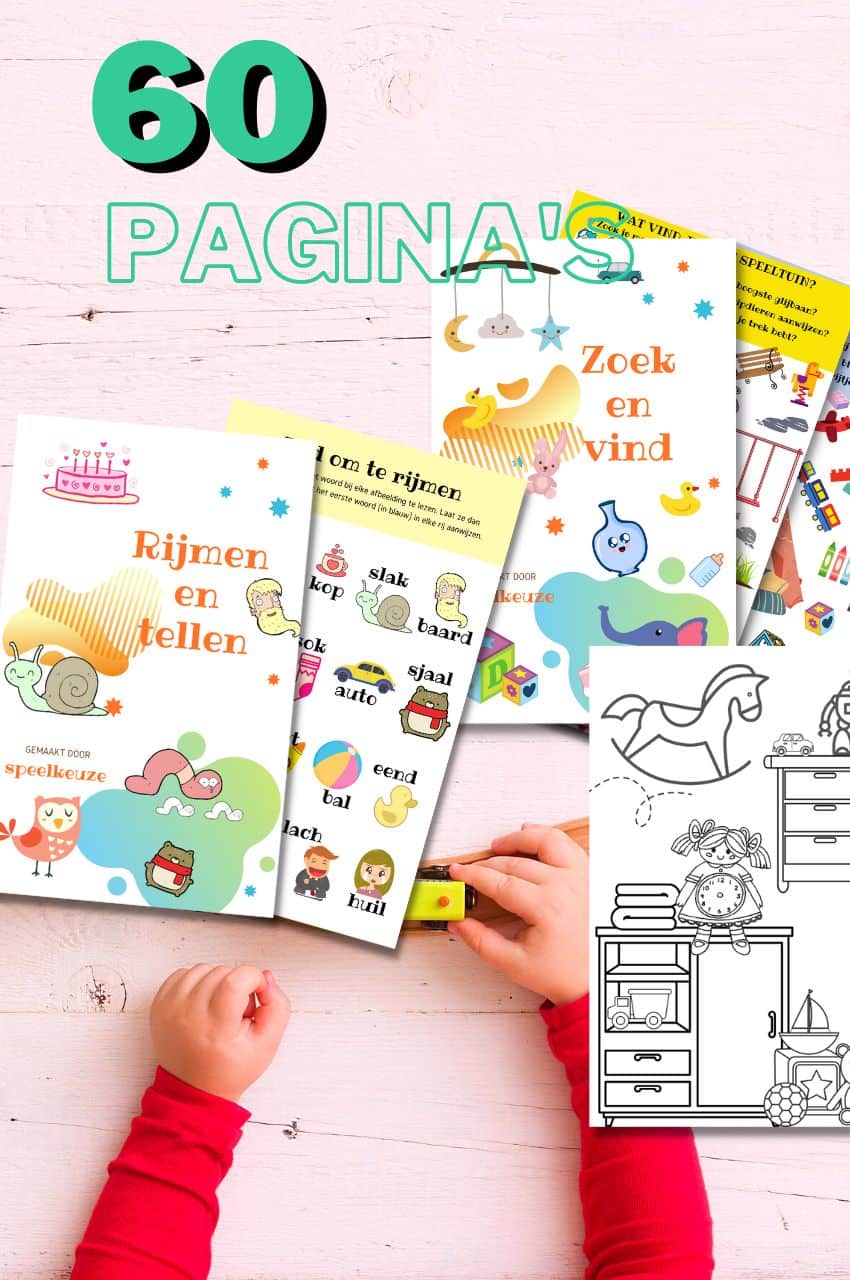
From toddler to toddler activity book collection
Educational games and coloring pages for 3 to 6 years
Your toddler and preschooler will love this e-book, along with the accompanying printables. He or she can play with it at every stage of development, together with mom and dad.
Buy at Bol.comWhat we discuss in this comprehensive post:
Why old plastic turns yellow
This yellowing occurs thanks to a flame retardant that bromine is called, and which was used in those old ABS plastics.
When exposed to UV light, those bromine molecules can destabilize and leak to the surface, causing the plastic to turn yellow (or even brown if left in the sun long enough).
Modern plastics have improved chemistry, so this process does not happen, but that old one does toys from the 80s is not so lucky.
Different retro toys will turn yellow at different rates than others, even from the same product line.
Your Super Nintendo may be much more yellow than your friend's just because they were plastic from different batches, even if you exposed them to the same amount of sunlight.
This is even stranger: sometimes two pieces of plastic can be in the same thing toys have different levels of yellow, such as small parts such as battery compartments.
This may be because different parts came from different production processes or even factories and were put together later, with different levels of bromine.
From yellowed to white with hydrogen peroxide
A few years ago, some entrepreneurial and chemically savvy forum users discovered that hydrogen peroxide could help remove these free bromides from the plastic and restore the original white color.
Unfortunately, it is not permanent, as there are still free bromides deep in the plastic that can re-emerge after a few more years.
In addition, some people believe that the process makes these plastics more brittle and fragile. But if you're willing to put up with those annoyances, this is a great way to make your retro gadgets great again.
They created a recipe for ingredients and called the formula Retr0bright. You can read more about it at the original Retr0bright page and more about science in this great blog post about this subject.
There are plenty of guides out there, but after trying it a few times ourselves, we found that while most guides are quite extensive, they quickly skip over some important details to make the process as smooth as possible.
So today I'm going to show you how to get that old toys can whiten with a super cheap solution that you can buy in a bottle.
What you need to whiten toys
Since the inception of Retr0bright, many people have come up with different methods of retr0brighting their systems, with different advantages and disadvantages.
The original Retr0bright recipe called for 10% hydrogen peroxide solution mixed with a few other ingredients to give it a creamier consistency.
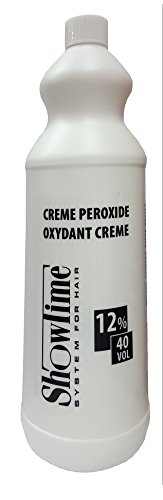
But after a while, some people discovered that this 'recipe' was not necessary: you can already buy a creamy hydrogen peroxide solution in the form of a hair developer.
Go to a beauty supply store and click on a 40 Volume Creme Developer and you have what you need.
I use this cheap bottle from Showtime:
Remark: some people recommend using your plastic toys immerse in a container with 10% to 15% hydrogen peroxide liquid instead of using the cream (no higher, otherwise you increase the chance of the top layer peeling off or deforming).
Granted, this is easier (and a little less likely to get streaks), but it's more dangerous, not to mention expensive.
Plus, you don't have much control because everything is handled that way: you can't avoid labels or other lettering. Nor are products that use multiple colors of plastic.
As long as you follow these instructions, the cream should work fine, with minimal streaks.
In addition to your choice of creme-like hydrogen peroxide blend, you only need a few extra things:
- Rubber gloves: I highly recommend some type of hand covering as you don't really want to get this stuff on your skin as it can give you a chemical burn. You can also buy some from the beauty supply store if you don't already have them.
- Safety glasses: You absolutely have to wear some kind of protective eye protection because you absolutely don't want to get this stuff in your eyes as it can blind you. (Seriously, don't skip this one!)
- Hair dye brush: You also want a brush to apply the cream. An old brush works, but you can also grab a hair dye brush for just a dollar or so with the developer at the beauty supply store - that's what I did.
- Cling filmYou need this to keep the cream from evaporating, which will help you get an even result.
- Cleaning alcohol: you want to clean the plastic before you whiten it. Relatively clean surfaces probably only need water and a cloth in preparation, but denatured or isopropyl alcohol is certainly helpful for removing some of those tougher scuffs and dirt marks.
- A screwdriver (and any other necessary tools)Finally, you will probably need a screwdriver to disassemble your gadget along with all the other necessary tools (some Nintendo systems require a special bit to open it, for example).
- A UV lamp (optional): if you have the space and don't want to leave it in the sun (which requires more attention to avoid streaks), you can use a UV lamp. I did not choose this method myself, but I have heard good things about it.
Once you have everything in one place, the instructions below will help you get started.
Step One: Disassemble your hardware
If at all possible, I highly recommend purchasing the device or piece toys in question to take apart before you start to clean and whiten.
Ideally, you're going to take it apart just like the plastic parts you want to clean, with all the metal pieces and circuits or other colors of plastic off.
This makes it to clean much easier (because you can hose it off) and prevents problems with the peroxide damaging the inside.
This process depends on what you take apart, some things may not be possible, but there are a lot of 'disassembly' videos out there about anything and everything so you can always have a look there.
Set the inside aside, being careful not to lose any of the screws and parts. Once you only have the yellowed plastic pieces left, you're ready to start to clean.
Step Two: Clean the plastic thoroughly
Again, this step will be a little different depending on what you are cleaning, but overall, I have found that a deep cleaning of the plastic involves two or three steps.
First, remove dust, hair, and dirt from the plastic with plain water. Dry it with a cloth when you are done.
Once the plastic dries, you will likely find that there is still a lot of dirt on it, not to mention scuffs and other imperfections.
That's some years of storage coming from you toys do with it!
To clean that, I recommend taking a cloth and some denatured or isopropyl alcohol and scrubbing it nicely.
Much of the dirt and scuffs should come off right away, while others may require you to rub hard.
Make sure to stay away from letters and other painted images as the alcohol will damage them! (For example, the red letters on the front of an original Nintendo system immediately rub off with alcohol).
You may notice that even after rubbing your arm hurts with alcohol, some scuffs don't come off.
In this case I often turn to the Mr. Clean Magic Eraser. It will almost always remove those scuffs, but note that it is an abrasive, meaning it will add some texture and finish to the toys can remove.
If that worries you, you can skip this step. I would rather risk a slightly glossier spot on the plastic than look at black stripes.
It is up to you. Make sure to start lightly and only rub harder when necessary.
Step Three: Apply the peroxide
Once your device is clean of everything else, it's time to turn our attention to those pesky bromides.
You need plenty of sunlight for this part of the process, so I recommend starting early in the morning so you can spend as much time in the sun as possible, otherwise you may have to finish it for a second day.
First, I like to cover all labels with masking tape to protect them (especially the papers, which will disintegrate when soaked in liquid or cream).
If there are painted letters, you may want to avoid those pieces as the solution may fade or damage them.
You can also mask other colors of plastic to make it easier to apply the solution to only the right parts.
Then, after putting on your gloves and goggles, lay down your cling film.
You may need several pieces as your piece toys is very large, like with an old game console, because it needs to be completely covered. And cling film is only so wide, of course.
Pour some of the peroxide solution onto the cling film. Spread it with your brush and pour the solution onto the plastic as well. Brush it around there again so that it gets into every particle and nook.
Don't be afraid to use too much cream, as you'll want to generously cover every inch of the yellowed plastic (you can even do the inside if it has yellowed, although that may not be necessary in some areas).
Then put the piece of plastic on the cling film and wrap it. The idea is to seal it tightly so you can keep the peroxide from evaporating, which causes streaking.
Again, full plastic wrap coverage is important.
Repeat this process with your other plastic pieces.
Step Four: Leave it in the sun
Once your plastic parts are all wrapped up, put them in direct sunlight (or under your UV lamp).
UV exposure may be at the root of all these problems, but it's also the secret ingredient that will help us fix it.
You'll want to leave it outside for a few hours, so find a spot that gets direct sunlight for most of the day if you can.
Here is the most important: try to get rid of the air bubbles as much as possible and spread the cream evenly. Then every half hour turn the pieces 90 degrees and massage (with your gloves on) the cream around the plastic (from outside the cling film).
This will keep it moving and prevent air bubbles from staying in one place for too long, giving you a smudge and streak-free finish.
It takes some work, but if you don't do this it will still be an ugly piece toys full of yellow stripes and spots.
Finally, it is best to rinse off the parts in between (see next step) and apply another coat after the cream starts to look more like a foam, usually after two to three hours, depending on how warm and sunny it is.
This prevents the solution from drying out and causing distortion or streaking.
It sounds annoying, but it is worth it.
You should see a noticeable improvement after six to nine hours, although you may be able to manage with less if your plastic was only slightly yellow.
Step Five: Rinse and repeat if necessary
Once the plastic looks like it's sparkling white again (or if you're out of sunlight), take the pieces out of the foil and rinse them, either with a hose or in a sink (well away from food).
You will probably have to rub the excess mixture off the plastic as it will be quite thick and foamy and will stick to it, so wear your gloves and give it a good, long massage underwater.
Make sure to get into all the little cracks and crevices as the peroxide will definitely get trapped in those areas and you will have to scrub it out a bit.
You can dry the plastic with a cloth if you prefer, or let it drip off. Once it dries you should find that it looks much better than before!
However, if you find that it is still more yellow than you'd like, you can repeat the process the next day.
Some truly yellow plastics may take a few days in the sun to whiten.
My Super Nintendo, for example, was already looking good after seven hours, but the bottom piece needed a whopping 24 hours in the sun to really get back to where it should be.
So just keep doing it until you get the results you want.
Conclusion
After you have thoroughly rinsed and dried the plastic parts and you are satisfied with the results, you are done!
Put your gadget back together and it's just like the day you bought it, fresh and white from the factory.
Remember that it will yellow again after some time, even if it is stored in a dark room, because those free bromides are already deep in the plastic.
But you can always go through this process again if it gets too yellow for you.
Also read: this is the correct way to clean bath toys
Always something to do for the holidays or rainy day?
Play Choice now has the ultimate activity book collection, with over 60 pages of fun coloring pages and educational puzzles.

Joost Nusselder, the founder of Speelkeuze.nl is a content marketer, father and loves trying out new toys. As a child he came into contact with everything related to games when his mother started the Tinnen Soldaat in Ede. Now he and his team create helpful blog articles to help loyal readers with fun play ideas.